Sliding Shower Door Installation: How to Prevent Water Leaks and Seal Every Gap

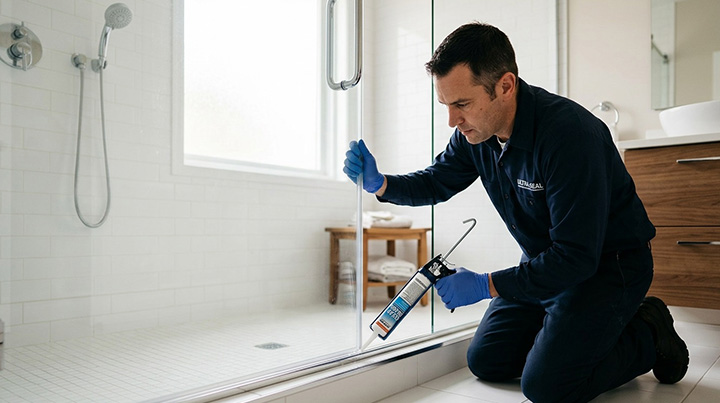
A sliding shower door adds a clean, modern look to any bathroom while keeping water where it belongs. Yet even the most attractive installation can turn into a headache when water starts seeping through gaps, pooling on the floor, or creeping into the wall behind the track. Preventing leaks begins long before the silicone tube comes out. It starts with smart product choices, careful surface preparation, and attention to details that many installers overlook.
Whether you are replacing an old curtain with a glass enclosure or upgrading from a framed door to a frameless model, understanding how water behaves around moving panels will save you hours of cleanup and costly repairs down the line. This article walks through practical steps that help you achieve a watertight sliding shower door installation from day one.
Understand Where Water Escapes
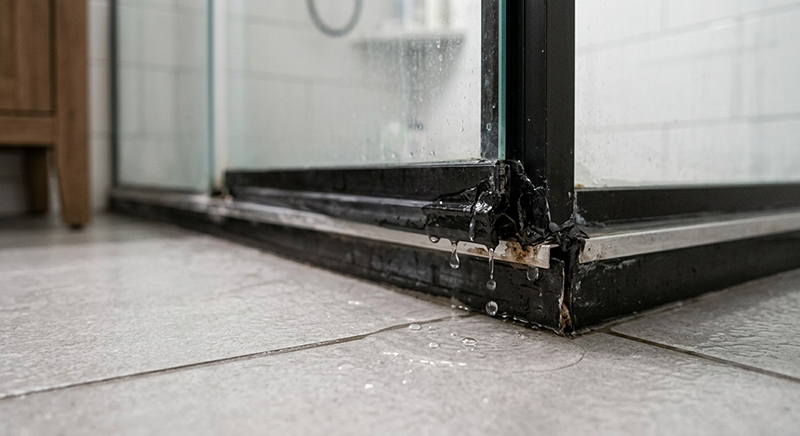
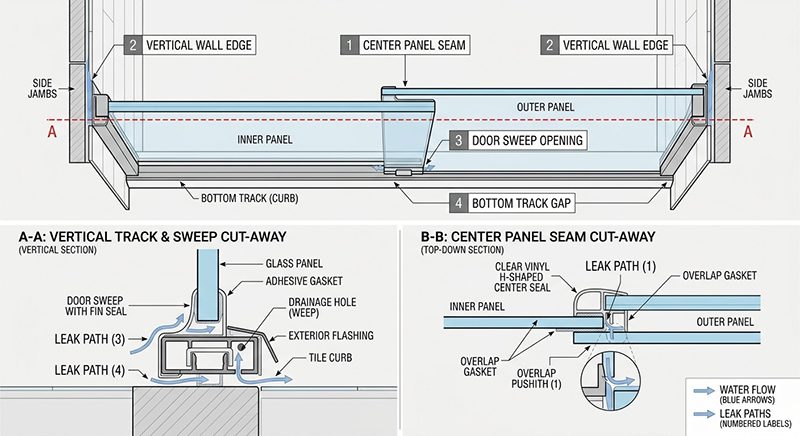
Water finds its way out through surprisingly small openings. In a typical sliding shower door setup, the most common leak paths include the gap between the bottom track and the tub or shower threshold, the vertical edges where the fixed panel meets the wall, the seam between the two sliding panels, and the open space beneath the door sweep when the panel is rolled to one side. Each of these areas needs a specific barrier strategy.
The direction of your shower spray also matters. A head mounted too close to the door edge or aimed directly at the panel seam will force water against seals that were only designed to handle incidental splash. Before you install anything, test your water flow pattern and consider relocating the showerhead if it points aggressively toward the door line.
Prepare the Surface Before Mounting
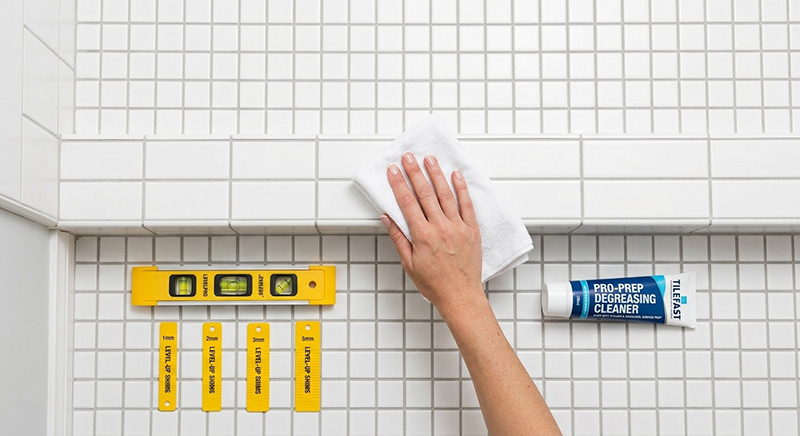
A watertight installation depends on a flat, clean, and dry mounting surface. If you are attaching a track directly to a tiled curb or acrylic shower base, check that the surface is level across its full width. A track that sits on a slope will create a low point where water collects and eventually overflows. Use a level at multiple positions and shim the track if needed before securing it.
Remove all old caulk, soap residue, and loose grout from the area where seals and tracks will sit. Any debris trapped underneath a mounting rail becomes a channel that water can follow straight through the seal. Wipe the surface with a degreasing cleaner and let it dry completely. A damp surface prevents caulk and adhesive tape from bonding properly, which is one of the most common causes of early seal failure.
If your walls are unfinished backer board or greenboard, install the shower door only after the wall surface has been waterproofed and tiled. Mounting hardware into unprepared drywall or directly into tile without proper anchors risks loosening over time, and a loose track is a leaking track.
Select a Door with Built-In Leak Protection
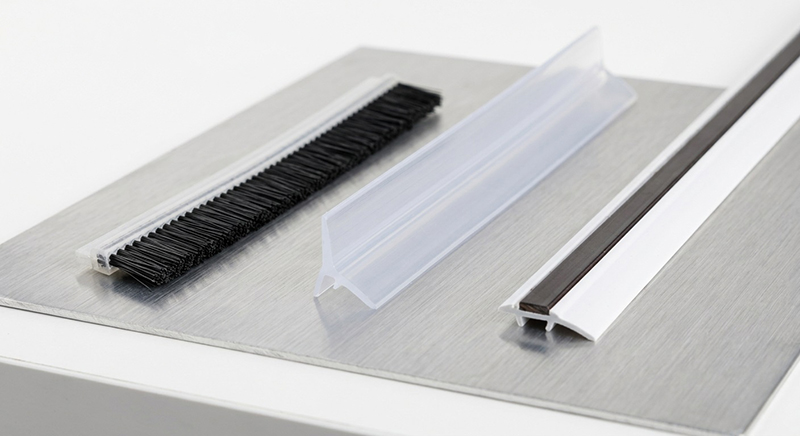
Not all sliding shower doors offer the same level of water containment. When shopping, look for models that include a continuous bottom sweep rather than a short brush-style fin. A sweep that extends the full width of the moving panel and flexes against the threshold creates a far better seal than a rigid strip with gaps at the ends.
Magnetic or vinyl vertical seals between the fixed and sliding panels are another feature worth prioritizing. These seals snap together when the door closes, eliminating the narrow gap that otherwise acts as a direct path for spray. Frameless designs with heavy tempered glass tend to seal more consistently than lightweight framed options, since the mass of the glass helps the sweep maintain contact with the threshold even as the panel moves.
Pay attention to the track profile as well. A low-profile threshold looks sleek but offers less room for error. If your shower floor is not perfectly level, a slightly raised track with a built-in drainage channel gives water a place to run back into the shower rather than spilling outward.
Anchor the Bottom Track with Precision
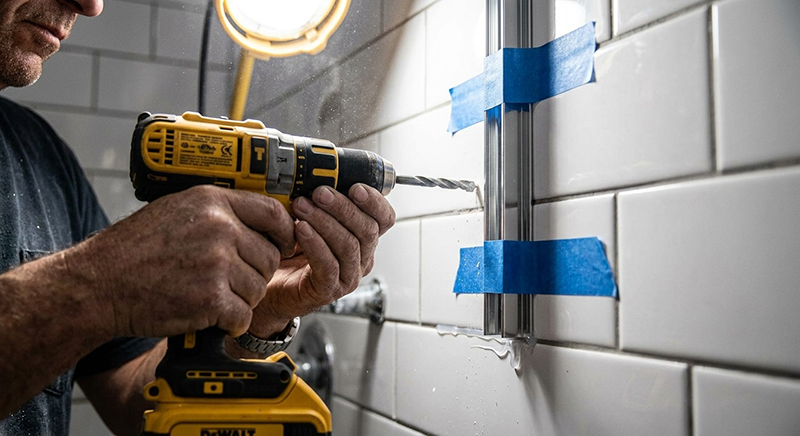
The bottom track is the backbone of your sliding door system, and it is also the most likely place for leaks to develop. Begin by positioning the track exactly where you want it, then mark the drill holes without moving it. Drill slowly through tile using a carbide or diamond bit to avoid cracking. If you are drilling into fiberglass or acrylic, use a standard bit and apply gentle pressure to prevent chipping.
After drilling, apply a thin bead of 100 percent silicone sealant beneath the full length of the track before setting it down. This hidden layer blocks the capillary path that would otherwise let water travel under the rail and onto your bathroom floor. Do not rely on the mounting screws alone to create a seal; they are mechanical fasteners, not waterproofing devices.
Once the track is screwed in place, run a second bead of silicone along the front and back edges where the track meets the shower threshold. Smooth this bead with a rounded tool or wet finger to ensure full contact. Any bubbles or breaks in this line become leak points the first time someone takes a shower.
Seal the Wall Jambs Thoroughly
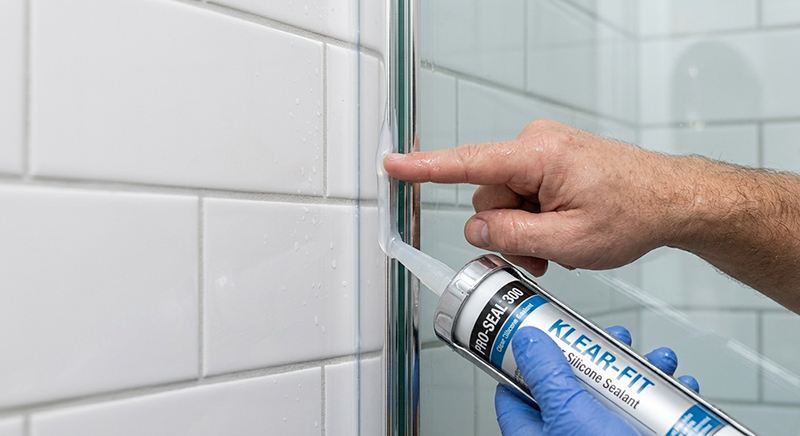
The vertical wall jambs that hold the fixed glass panel must also be sealed on both sides. Apply silicone behind the jamb before you fasten it to the wall, then add another bead along the exposed seam after installation. The same rule applies to any center guide or divider that separates the sliding panel from the fixed one.
If your walls are tiled, the grout lines between tiles create small valleys. Do not simply caulk along the face of the jamb and assume the gap behind it is covered. Remove the jamb temporarily if needed and fill those grout valleys with silicone before reinstalling. This extra step takes only a few minutes and prevents water from migrating sideways through the grout joints.
For installations on fiberglass shower surrounds, use a silicone formula that is compatible with acrylic and fiberglass surfaces. Some standard caulks contain solvents that can degrade plastic surrounds over time, leading to discoloration and weakening of the seal.
Install Door Sweeps and Wipe Seals Correctly
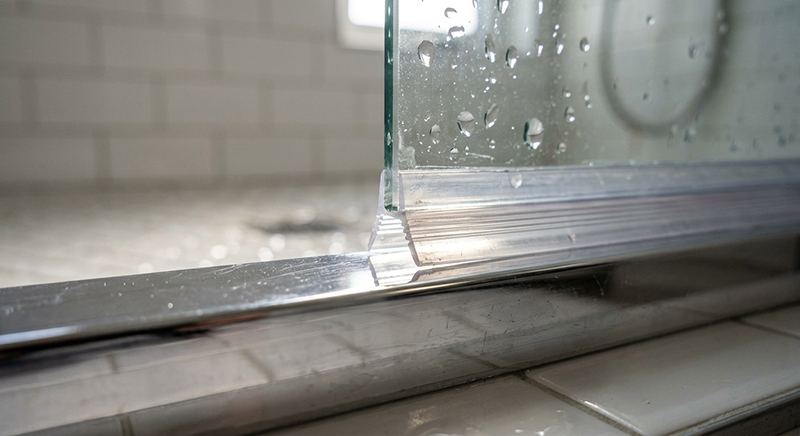
The bottom sweep and side wipe seals are your last line of defense, so install them with care. Most sweeps slide into a channel at the bottom edge of the glass and are held by friction. Make sure the sweep hangs low enough to touch the threshold when the door is closed, but not so low that it drags excessively or bends upward when the panel moves.
If the sweep is too long, trim it with a sharp utility knife rather than forcing it into position. A sweep that is crumpled or twisted will leave gaps. After installation, close the door and look at the sweep from inside the shower. You should see even contact across the entire width with no visible daylight underneath.
Side seals, sometimes called drip rails or fin seals, run vertically along the trailing edge of the sliding panel. These catch water running down the glass and direct it back into the shower. Position them so the fin points slightly inward, toward the wet side of the door. If the fin faces outward, it will funnel water onto your bathroom floor instead of back into the enclosure.
Align the Panels for a Tight Closure
Sliding doors must meet squarely in the center or against the jamb for seals to work. If the top track is not perfectly parallel to the bottom track, the panels will ride at an angle and leave a gap at one end. Use a level on the top track during installation and adjust the roller brackets until the panels hang plumb.
Most roller systems allow you to raise or lower each corner of the glass independently. Start by hanging the fixed panel and checking that it is vertical in both directions. Then hang the sliding panel and adjust its rollers so the gap between the two panels is uniform from top to bottom. A gap that widens toward the top or bottom means the panel is tilted, and water will exploit that opening.
After alignment, open and close the door several times while watching the seals. The sweep should glide smoothly without catching or lifting. The magnetic or vinyl center seal should meet evenly along its full height. If you see any wobble or hear a rattle, fine-tune the rollers until the motion is smooth and the closure is snug.
Apply a Final Caulk Bead at Exposed Seams
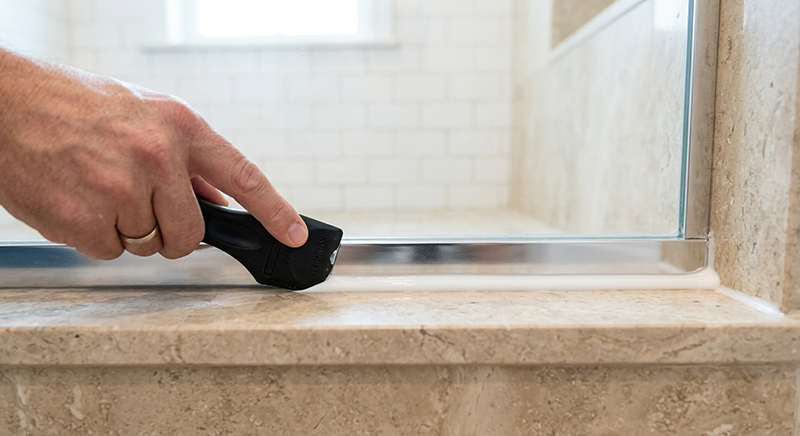
Even with built-in seals and sweeps, there are always small seams that benefit from an additional layer of protection. Run a thin bead of clear or color-matched silicone along the top edge of the wall jambs where they meet the tile or surround. Do the same along the front face of the bottom track where it meets the shower threshold, and at any joints where two pieces of metal track connect.
Wait until all hardware is fully tightened and aligned before applying this final caulk layer. If you caulk too early and then need to shift a track, you will tear the seal and have to remove and redo the caulk. After application, let the silicone cure according to the manufacturer instructions before using the shower. Most bathroom-grade silicones need at least 24 hours to form a waterproof skin.
If you are working in a humid climate or during a rainy season, extend the curing time. Moisture in the air slows silicone polymerization, and a seal that looks dry on the surface may still be soft underneath. Running water over uncured caulk will wash it away and leave you with no protection at all.
Test Before You Trust
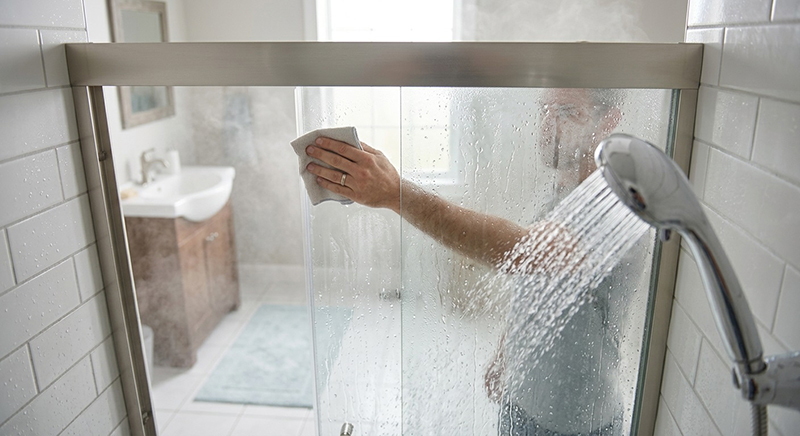
Once installation and sealing are complete, test the enclosure with a gentle spray before anyone uses it for a real shower. Close the door fully and aim a handheld showerhead or even a garden spray bottle at each potential leak point: the bottom corners, the center seam, and the top edge where the panel meets the wall. Watch the outside of the enclosure for any droplets that appear.
If you see a leak, do not panic. Most issues are fixable with a small adjustment to a sweep, a touch more caulk at a specific seam, or a slight roller height change. Mark the exact spot where water appears, dry the area, and apply targeted corrective sealant. Retest until the enclosure is completely dry on the outside during a full spray test.
It is much easier to fix a leak now than to discover it after a month of daily showers has soaked the subfloor or stained the baseboards. A ten-minute spray test is an investment in years of trouble-free use.
Maintain the Seals Over Time
A perfectly installed shower door will not stay perfect without occasional attention. Silicone caulk degrades over time due to temperature cycles, cleaning chemicals, and physical flexing. Inspect the seal lines every six months for cracks, peeling, or mold growth. If the caulk begins to pull away from the tile or track, remove the old material with a plastic scraper and reapply a fresh bead.
Door sweeps and wipe seals also wear out. The rubber or vinyl fin that drags across the threshold every day will eventually harden or tear. When the sweep no longer flexes to maintain contact, or when you notice water escaping during normal use, replace it. Most manufacturers sell replacement sweep inserts that slide into the existing channel without removing the door.
Keep the bottom track clean of soap scum and hair. A clogged track does not drain properly, and standing water will find its way over the edge. Wipe the track with a cloth after each shower and remove any buildup weekly. A clean track is a dry track.
Know When to Call a Professional
DIY installation is entirely achievable for anyone with basic tools and patience, but there are situations where professional help is the smarter choice. If your shower opening is significantly out of square, if the walls are bowed, or if you need to modify plumbing fixtures to accommodate the door, a skilled installer has the experience to adapt the hardware and maintain a watertight seal.
Likewise, if you have installed the door, sealed every seam, and still see persistent leaks, an experienced eye may spot an issue that is not obvious. Sometimes the problem is not the door at all, but a cracked shower pan, damaged grout, or an improperly sloped threshold that channels water in the wrong direction.
Spending a little more upfront on expert installation often costs less than repairing water damage later. A professional warranty on the installation work also gives you recourse if a leak does develop within the covered period.
Keep Your Bathroom Dry and Damage-Free
A sliding shower door is one of the most practical upgrades you can make to a bathroom, but only if it keeps water inside the shower where it belongs. Leak prevention is not about applying more caulk and hoping for the best. It is a process that begins with choosing the right door, continues with meticulous surface preparation and hardware alignment, and extends into regular maintenance over the life of the installation.
By understanding how water moves, where it tends to escape, and how each seal and sweep contributes to the overall barrier, you can install a sliding shower door that performs reliably for years. The effort you put into sealing every gap and aligning every panel pays off every time you step out of the shower onto a dry, safe floor.